Building a Django Project with Docker: A Step-by-Step Guide
Introduction
In this step-by-step tutorial is designed for developers of all levels looking to harness the power of Docker in streamlining development environments and deployment processes. Through this guide, you’ll learn how to set up, develop, and deploy a Django application within Docker containers, ensuring a consistent and efficient workflow. Join us as we explore the seamless integration of Django with Docker, paving the way for scalable and portable web applications.
All the example code can be found here.
What You Will Learn
By the end of this tutorial, you’ll learn how to:
- Create a Django project with a virtual environment and environment variables.
- Make Django Production ready with creating two settings files - for each stage.
- Using Docker to build and run a production Django app.
Prerequisites
Before starting the tutorial, make sure you have the following prerequisites installed and set up on your computer:
- Python 3.10+ (we’ll use 3.12):
- Mac: Install Python using Homebrew with
brew install python@3.12. This will install Python 3.12 and pip, allowing you to create Python virtual environments and install packages. - Windows: Download the Python 3.12 installer from the official Python website. Run the installer, ensuring that the option to add Python to PATH is checked, which makes the Python interpreter accessible from the command line.
- Docker:
- Mac: Download Docker Desktop for Mac from the Docker Hub. The installer includes Docker Engine, Docker CLI client, Docker Compose, Docker Content Trust, Kubernetes, and Credential Helper.
- Windows: Download Docker Desktop for Windows from the Docker Hub. The installer will provide you with Docker Engine, Docker CLI client, Docker Compose, and other necessary tools.
Step 1: Setting Up Your Django Project
First, let’s create a folder to put our project inside:
mkdir django-docker-project
cd django-docker-project
Now, let’s run Python 3.12 to conver this folder into a Django project:
python3.12 -m pip install django
python3.12 -m django startproject server .
Now, within this folder, we should have the following files:
# Command: tree .
.
├── manage.py
└── server
    ├── __init__.py
    ├── asgi.py
    ├── settings.py
    ├── urls.py
    └── wsgi.py
We now have a proper Django project!
Step 2: Setting Up Your Vitual Environment
Now that our folder is a Django project, let’s setup a virtual environment and install the necessary dependencies!
A virtual environment is useful because it allows you to manage separate dependencies for different projects, preventing conflicts between package versions and ensuring consistency across development and production setups.
Let’s create and run a Python 3.12 virtual environment now:
python3.12 -m venv my-venv
source my-venv/bin/activate
You should now see (my-venv) in your terminal. This means your virtual environment is up and running!
Now, let’s add all the necessary dependencies to make Django run (in dev and production):
- Django: Python web framework for rapid development of database-driven websites.
- Gunicorn: WSGI server for deploying Python web apps, improving performance and compatibility.
- psycopg2-binary: PostgreSQL adapter for Python, enabling database interactions in Django apps.
pip install django gunicorn psycopg2-binary
pip freeze > requirements.txt
We need to save the dependencies into requirements.txt becasuse the Dockerfile will need to download the dependencies too!
Step 3: Run Django locally
Since we have our Django Project set up, our Vitual Environment active, and our dependencies
installed - we can now run Django locally.
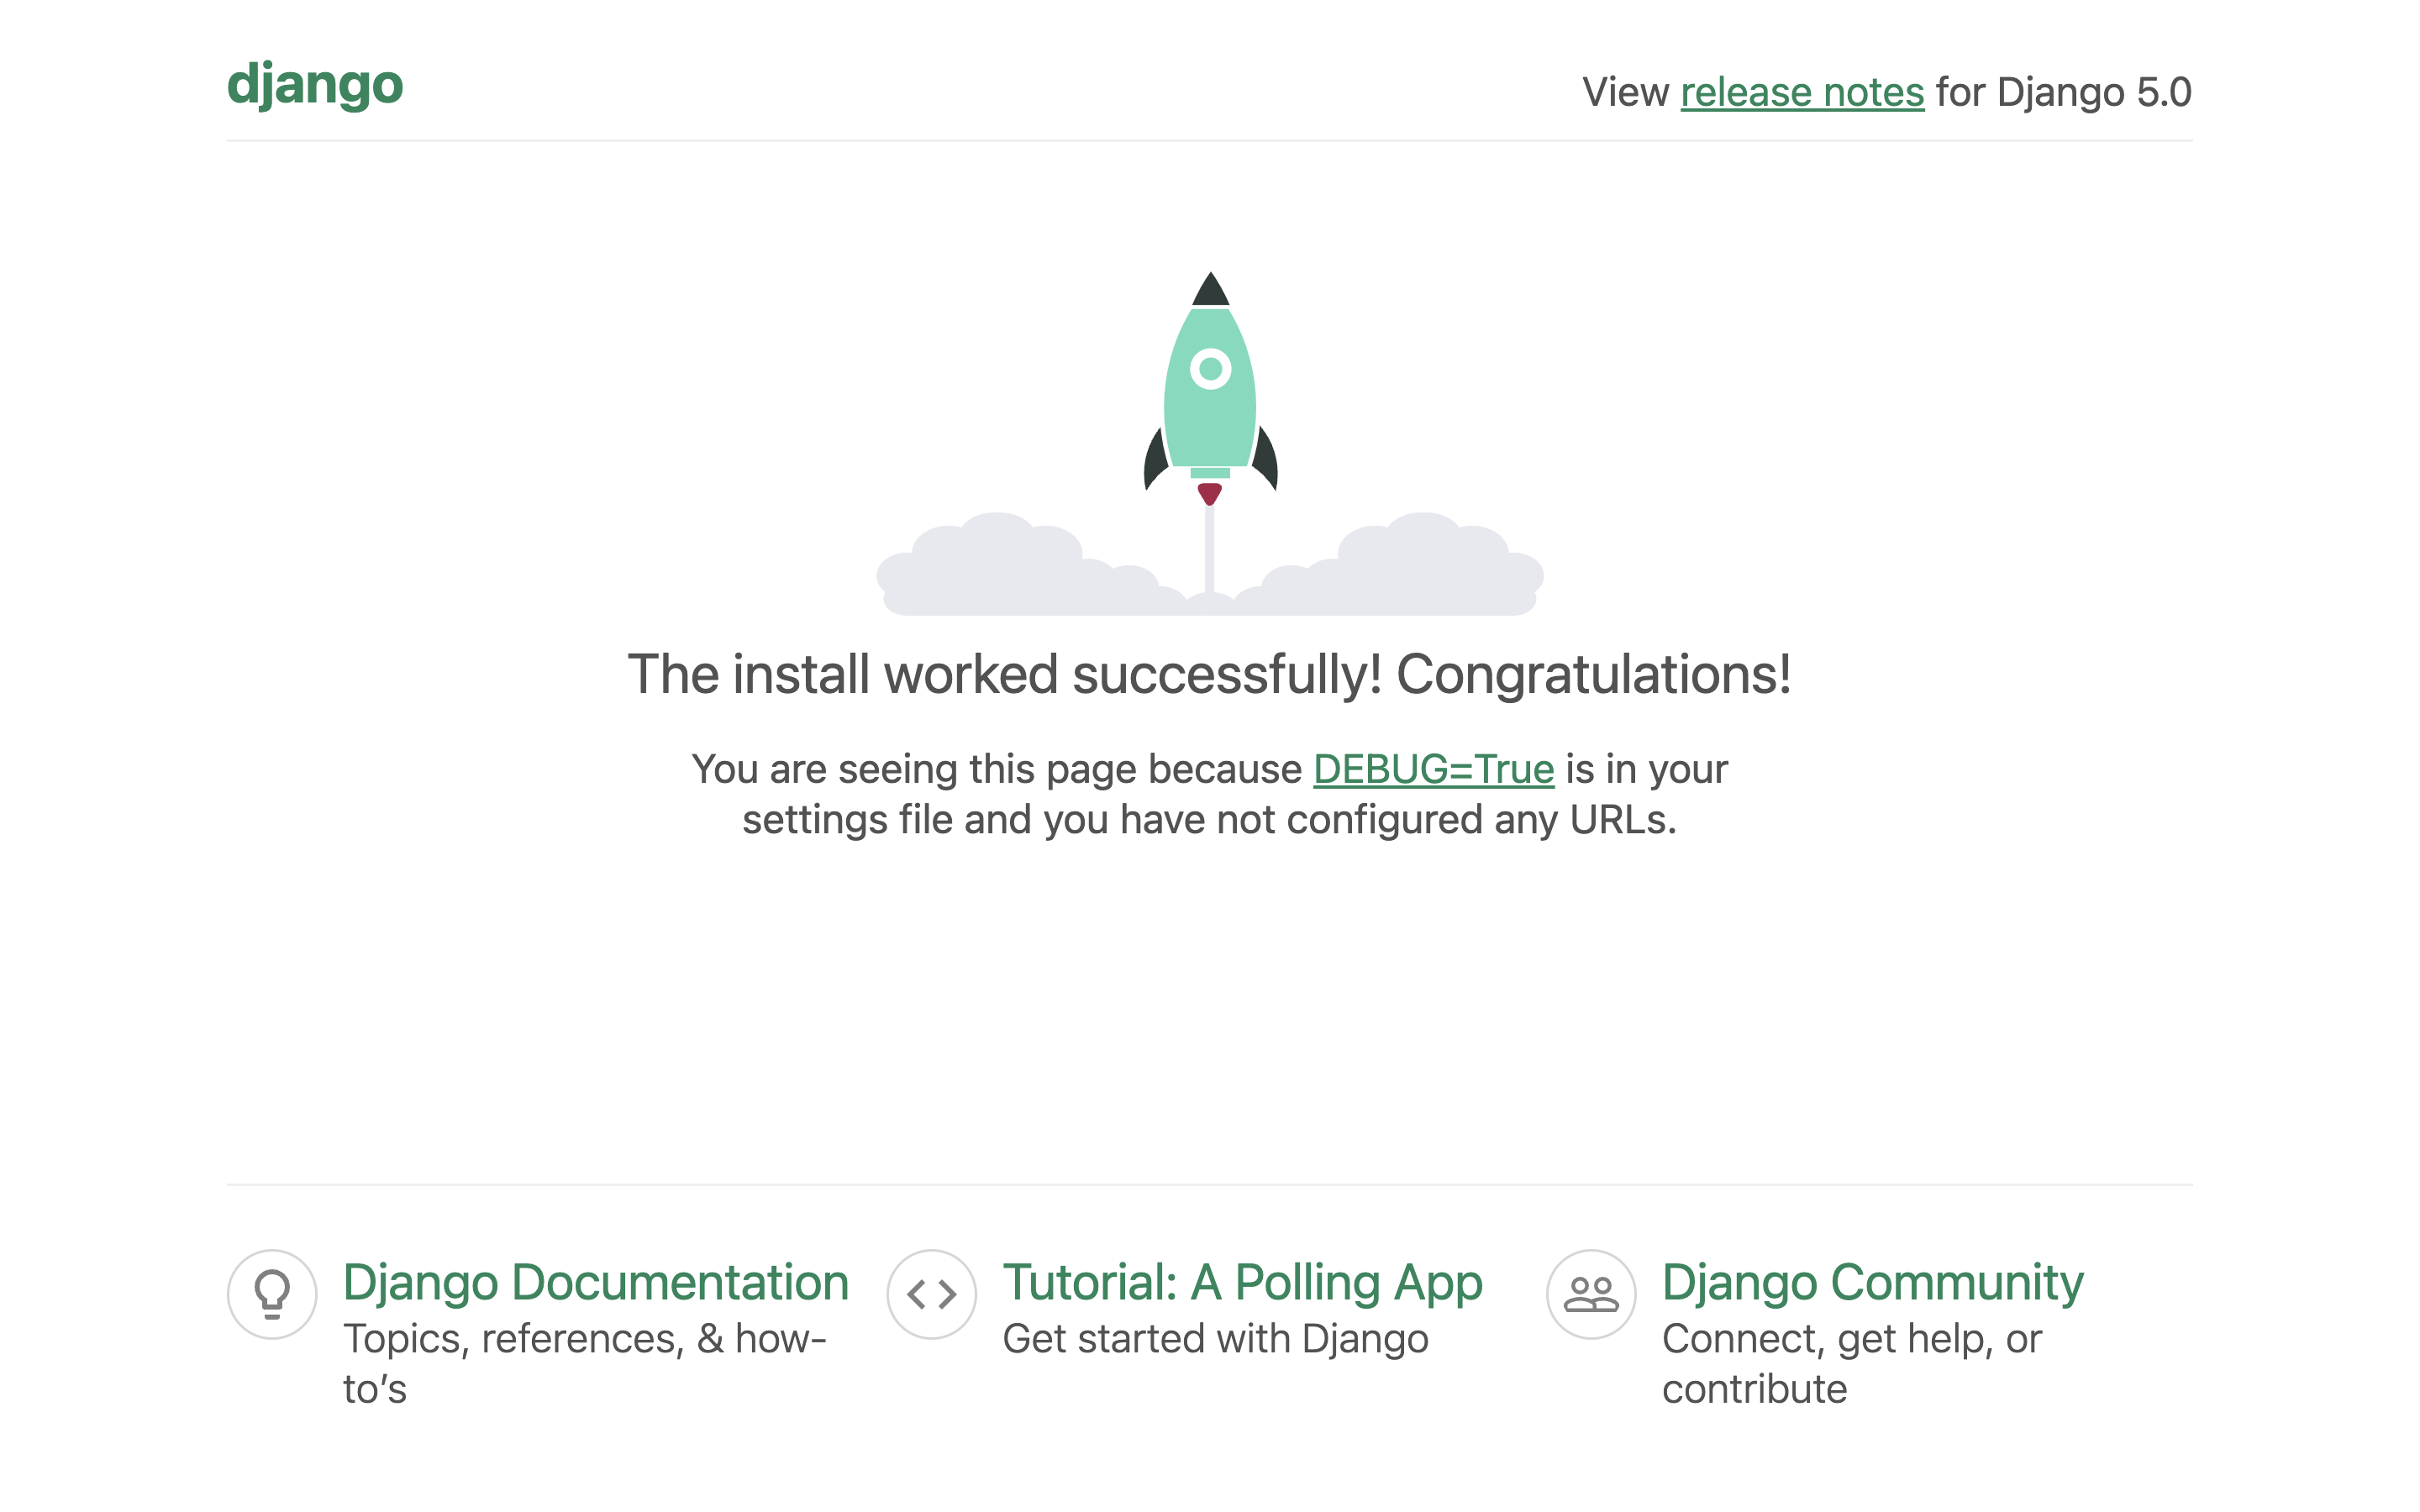
python manage.py runserver
You should see the following website at http://127.0.0.1:8000/
 Step 4: Add Production Settings
This is where it gets interesting: If you want to build and deploy Django using Docker, you want to set up your Django Project for production AND run a production version of your app in Docker.
Let’s setup both local and production settings in Django pick our runtime with environment variables.
First, lets create a ./server/settings folder and __init__.py, local.py and production.py.
local.py- Will be the settings for local development.production.py- Will be the settings for running in production.__init__.py- Will be the default settings and pull in local or production settings - based on our environment variables.
- Copy the contents in
server/settings.pyand paste it intoserver/settings/local.py - Copy the contents in
server/settings.pyand paste it intoserver/settings/production.py - Delete
server/settings.py - Add the following code into
server/settings/__init__.py:
import os

def get_secret(secret_id, backup=None):
    return os.getenv(secret_id, backup)

# Keep at the end
if get_secret('PIPELINE') == 'production':
    from .production import *
else:
    from .local import *
This will pull the environment variable PIPELINE and run local or production settings.
Next, lets re-write the following parts of server/settings/production.py:
# Change the SECRET_KEY to an environment variable
from . import get_secret
SECRET_KEY = get_secret('SECRET_KEY')

# Change DEBUG to False
DEBUG = False

# Change ALLOWED_HOSTS to all hosts
ALLOWED_HOSTS = ['*']

# Change DATABASES to connect to a real database
DB_NAME = get_secret("DB_NAME")
DB_USER_NM = get_secret("DB_USER_NM")
DB_USER_PW = get_secret("DB_USER_PW")
DB_IP = get_secret("DB_IP")
DB_PORT = get_secret("DB_PORT")
DATABASES = {
    'default': {
        'ENGINE': 'django.db.backends.postgresql',
        'NAME': DB_NAME,
        'USER': DB_USER_NM,
        "PASSWORD": DB_USER_PW,
        "HOST": DB_IP,
        "PORT": DB_PORT,
    }
}
We’ll need to make sure we add these environment variables in our Docker Run commands, since values like SECRET_KEY are required for a Django Project to run.
Now, we have a production version of Django ready to be built and deployed!
Step 5: Writing Your Dockerfile
To build our Django Project with Docker, we need to create a Dockerfile. Below is our Dockerfile and a comment for why we need each line:
# Use Python 3.12.2 image based on Debian Bullseye in its slim variant as the base image
FROM python:3.12.2-slim-bullseye

# Set an environment variable to unbuffer Python output, aiding in logging and debugging
ENV PYTHONBUFFERED=1

# Define an environment variable for the web service's port, commonly used in cloud services
ENV PORT 8080

# Set the working directory within the container to /app for any subsequent commands
WORKDIR /app

# Copy the entire current directory contents into the container at /app
COPY . /app/

# Upgrade pip to ensure we have the latest version for installing dependencies
RUN pip install --upgrade pip

# Install dependencies from the requirements.txt file to ensure our Python environment is ready
RUN pip install -r requirements.txt

# Set the command to run our web service using Gunicorn, binding it to 0.0.0.0 and the PORT environment variable
CMD gunicorn server.wsgi:application --bind 0.0.0.0:"${PORT}"

# Inform Docker that the container listens on the specified network port at runtime
EXPOSE ${PORT}
Write this into a file called Dockerfile at the top-level of our project.
Step 6: Build and Run Commands
Now that our Dockerfile is written, lets build it and run it with our needed environment variables:
# Build the Dockerfile
docker build -t django-docker-project:latest .

# Run the Docker image
docker run -p 8000:8080 \
--env PIPELINE=production \
--env SECRET_KEY=your_value \
--env DB_NAME=. \
--env DB_USER_NM=. \
--env DB_USER_PW=. \
--env DB_IP=0.0.0.0 \
--env DB_PORT=5432 \
django-docker-project
Be sure to replace your_value with your secure production secret key.
You can now see this production Django Project running at http://localhost:8000/
(Test http://localhost:8000/admin to be sure.)
Conclusion
Great job setting up your Django project with Docker!
Ready to dive deeper? Check out my tutorials on connecting Django to AWS and GCP databases and deploying your applications serverlessly on these platforms. These guides will help streamline your workflow and enhance your app’s performance in cloud environments.
Keep learning, and take your web development skills to new heights!
Additional Resources:
- Django + Databases
- Django + AWS tutorials
- Django + GCP tutorials